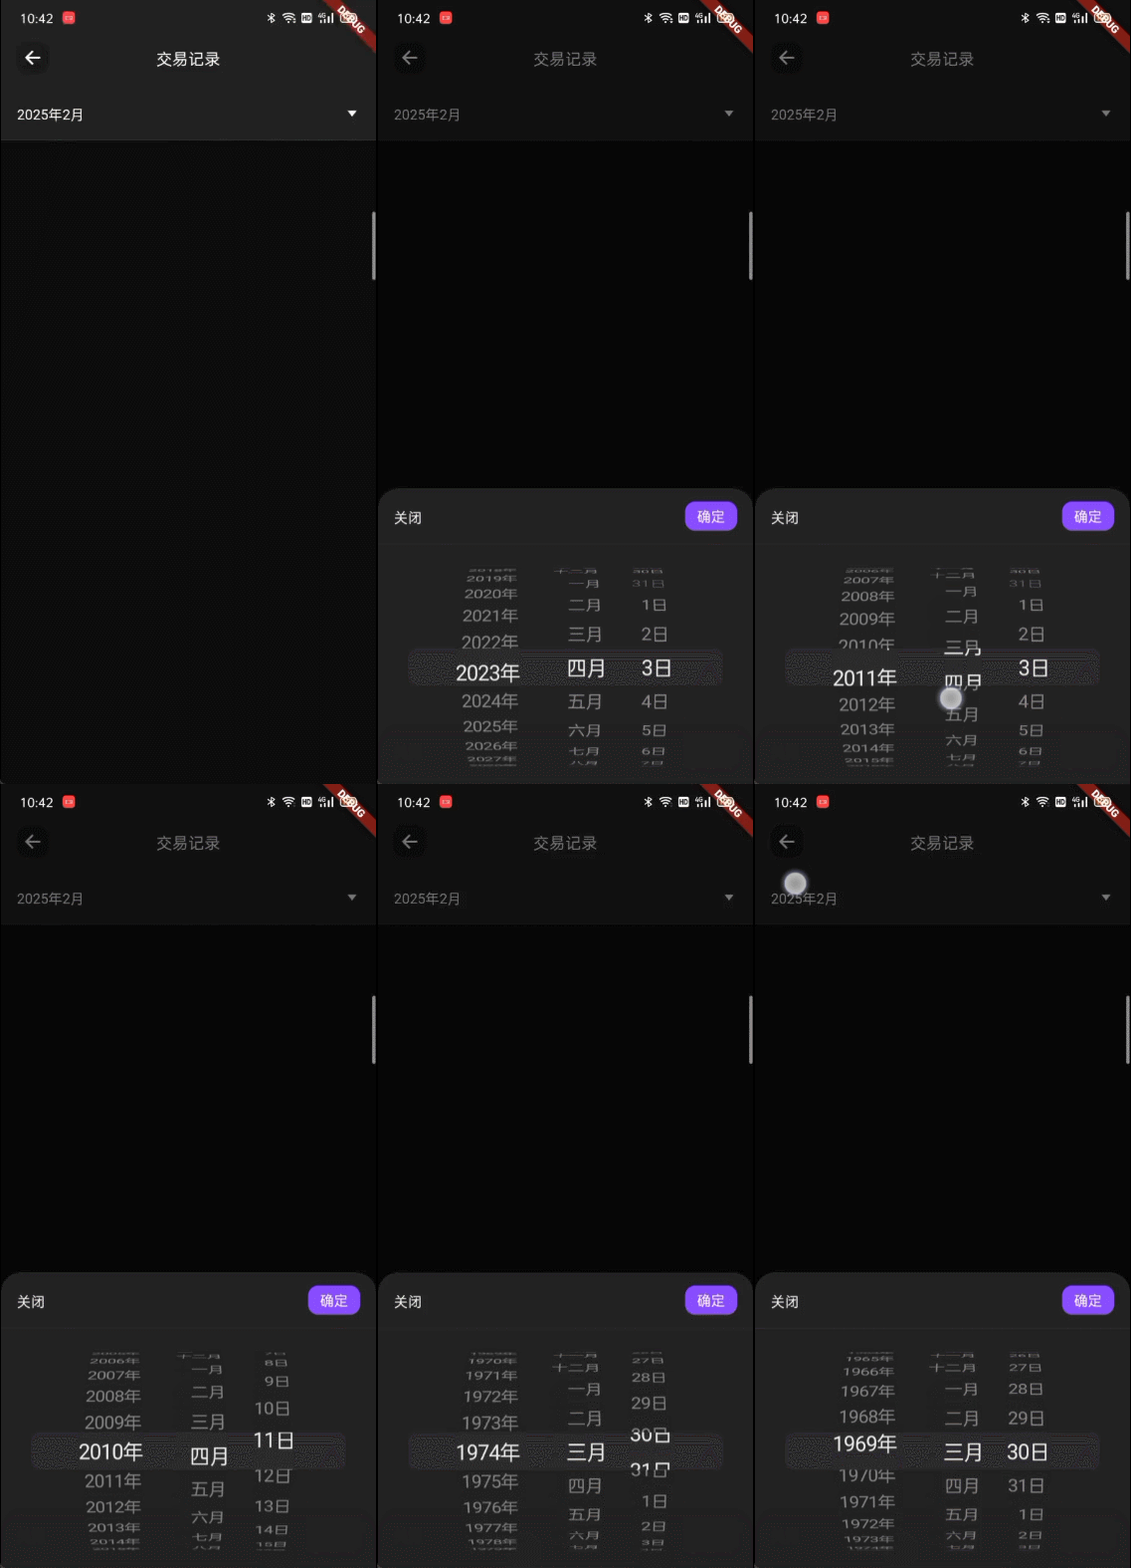
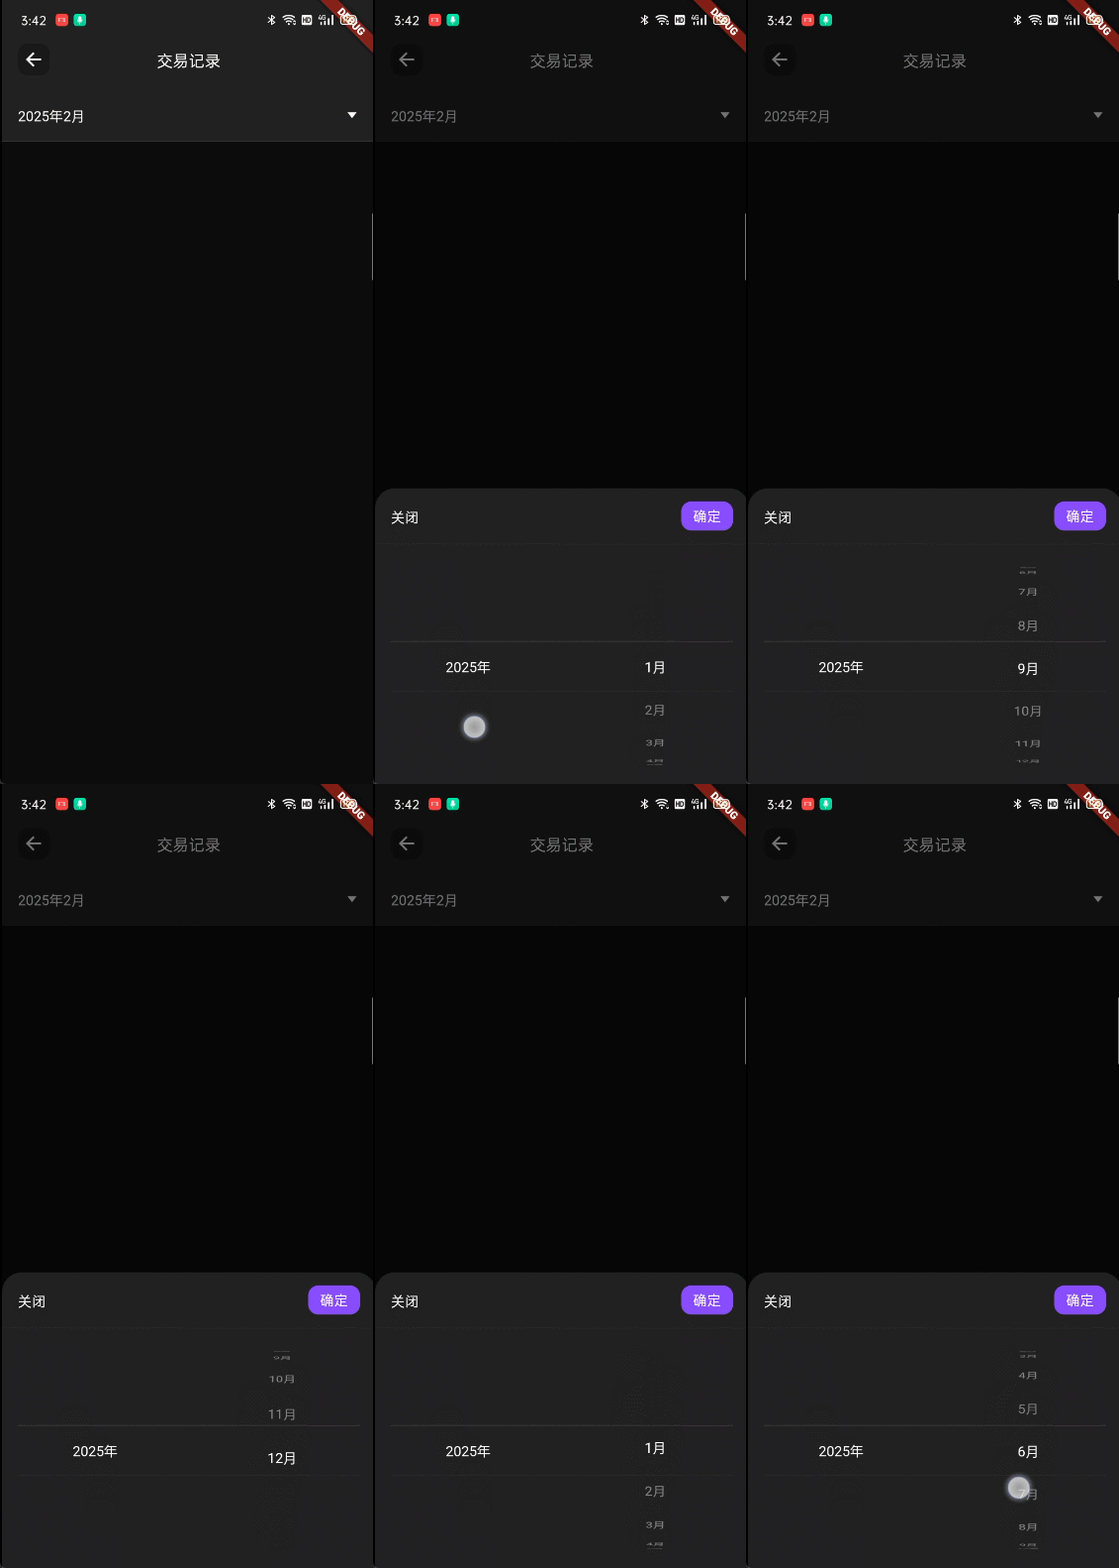
时间选择器:
时间段选择 在实际开发过程中还是挺常见的。Flutter 本身自带选 时间选择器器 CupertinoDatePicker,样式也是可以定义的,但是他 只提供三种时间的选择 自定义有局限性。后来开了一下 代码,实际上 内部使用的是 CupertinoPicker 实现的, 下面我们先介绍下 CupertinoDatePicker, 然后在基于 CupertinoPicker 实现一个自定义的 时间选择器:
CupertinoDatePicker:
CupertinoDatePicker是一个仿 iOS 风格的日期选择器,属于 Cupertino(iOS 风格)组件库的一部分。它提供了一个优雅的滚动选择器定义选择器的模式,支持以下选项:
CupertinoDatePickerMode.date:仅日期(年、月、日)。CupertinoDatePickerMode.time:仅时间(小时、分钟)。CupertinoDatePickerMode.dateAndTime:日期和时间组合。Expanded(child: CupertinoTheme( //自定义样式 颜色已经字体大小data: CupertinoThemeData(barBackgroundColor: Colors.white30,textTheme: CupertinoTextThemeData(dateTimePickerTextStyle: TextStyle(color: CupertinoColors.white,fontSize: 18,),),),child: CupertinoDatePicker(mode: CupertinoDatePickerMode.date,// backgroundColor: Colors.black87,//背景颜色initialDateTime: now,onDateTimeChanged: (DateTime newDate) {// setState(() {// selectedDate = newDate;// });},),), ),
CupertinoPicker:
基于
CupertinoPicker滚动选择器组件的封装,样式可以高度自定义。
CupertinoPicker是一个垂直滚动的选择器,用户可以通过滑动来选择其中的一项。- 它通常与
showCupertinoModalPopup或其他布局结合使用,常用于弹窗或底部抽屉中。- 相比于
CupertinoDatePicker(专注于日期和时间选择),CupertinoPicker更加通用,允许开发者自定义选项内容。- 支持无限滚动(通过
looping属性)。- 支持自定义每个选项的高度和样式。
- 提供选中项的回调函数,方便处理用户选择。
- 内置放大镜效果(magnifier),突出显示当前选中项。
Expanded(child: Stack(children: [Row(children: [Expanded(child: CupertinoPicker(useMagnifier: false,scrollController: _scrollYearController,itemExtent: 100.cale,onSelectedItemChanged: (index) {//print('当前选中 年项: $index');_indexYear = index;},selectionOverlay: null,children: [Center(child: Text('2025年',style: AppTextStyle.textStyle_28_FFFFFF,),),],),),Expanded(child: CupertinoPicker(useMagnifier: false,itemExtent: 100.cale,scrollController: _scrollMonthController,onSelectedItemChanged: (int value) {// print('当前选中 月:$value');_indexMonth = value;},selectionOverlay: null,children: List.generate(12, (index) {return Center(child: Text('${index + 1}月',style: AppTextStyle.textStyle_28_FFFFFF,),);}),),)],),Positioned(              //选中的样式child: Center(child: Container(margin: EdgeInsets.symmetric(horizontal: 32.cale),height: 100.cale,decoration: BoxDecoration(border: Border(top: AppWidget.borderSideLine(),bottom: AppWidget.borderSideLine(),),),),),)],),
)


