系列文章目录
这是学透Spring Boot的第11篇文章。更多系列文章请关注 CSDN postnull 用户的专栏
文章目录
- 系列文章目录
- Spring Test的依赖
- Spring Test的核心功能
- `@SpringBootTest` 加载Spring上下文
- 依赖注入有问题时
- Spring配置有问题时
- `@WebMvcTest` 测试Web层(Controller)
- MockMvc
- 更多场景
- Mock 和 Spy
- @RestClientTest 测试 RestClient
- 简单测试
- MockRestServiceServer 的工作原理
- @DataJpaTest 测试JPA
- 简单使用
- 原理
前一篇文章,我们介绍了UT、TDD、Mock、Spring Test等概念,本文我们重点来学习一下Spring Test。
Spring Test的依赖
我们要使用Spring Test 第一步要做的事情就是在pom.xml中引入Spring Boot Test的依赖
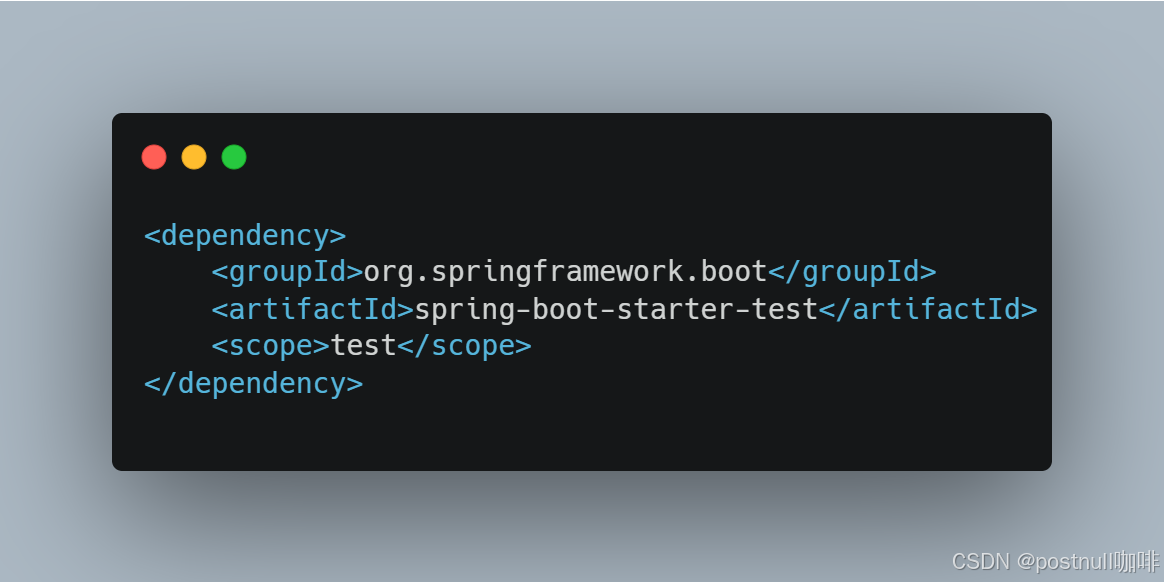
然后会自动关联相关的依赖
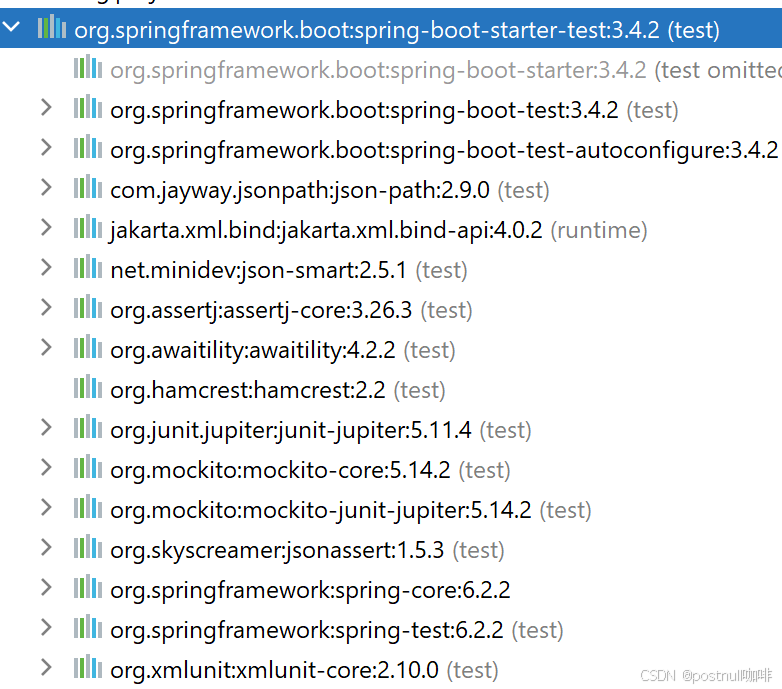
这些被关联进来的包,也就是Spring Test框架使用到的组件(可能是直接使用,也可能是间接使用到的,比如jsonPath就是间接使用, MockMvc封装了jsonPath)。
组件的具体使用方法,请点击下面组件的链接。
-
JUnit 5: 底层真正使用到单元测试框架.
-
Spring Test & Spring Boot Test: Spring Test的核心,提供了各种测试工具(类和注解)
-
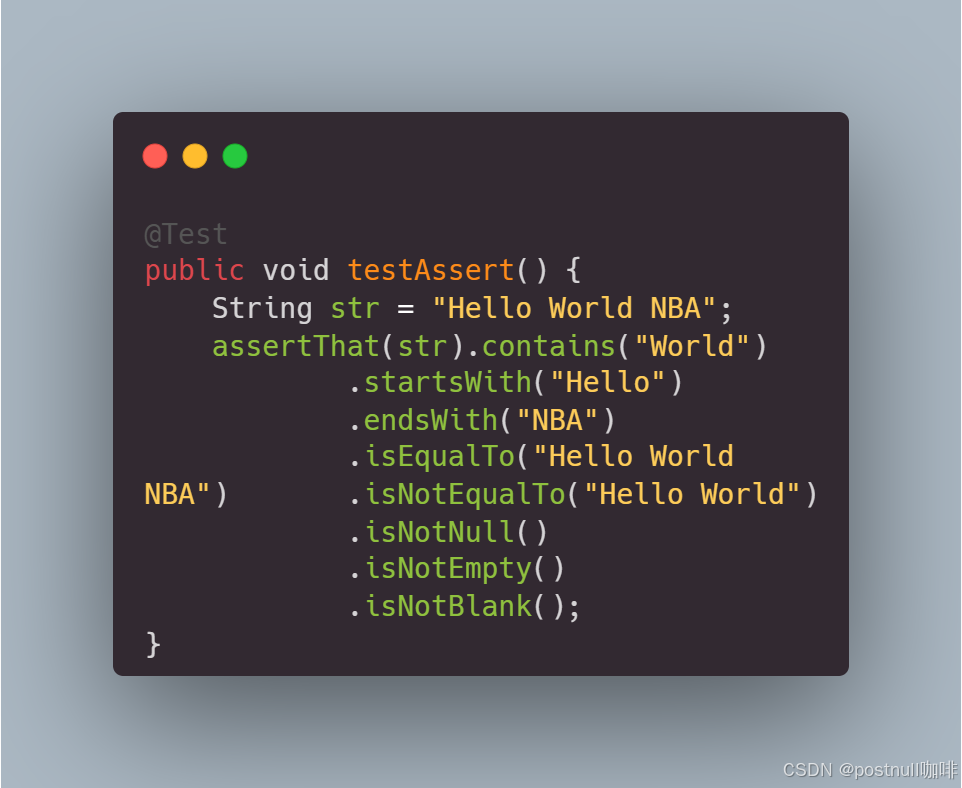
AssertJ: 流式断言
-
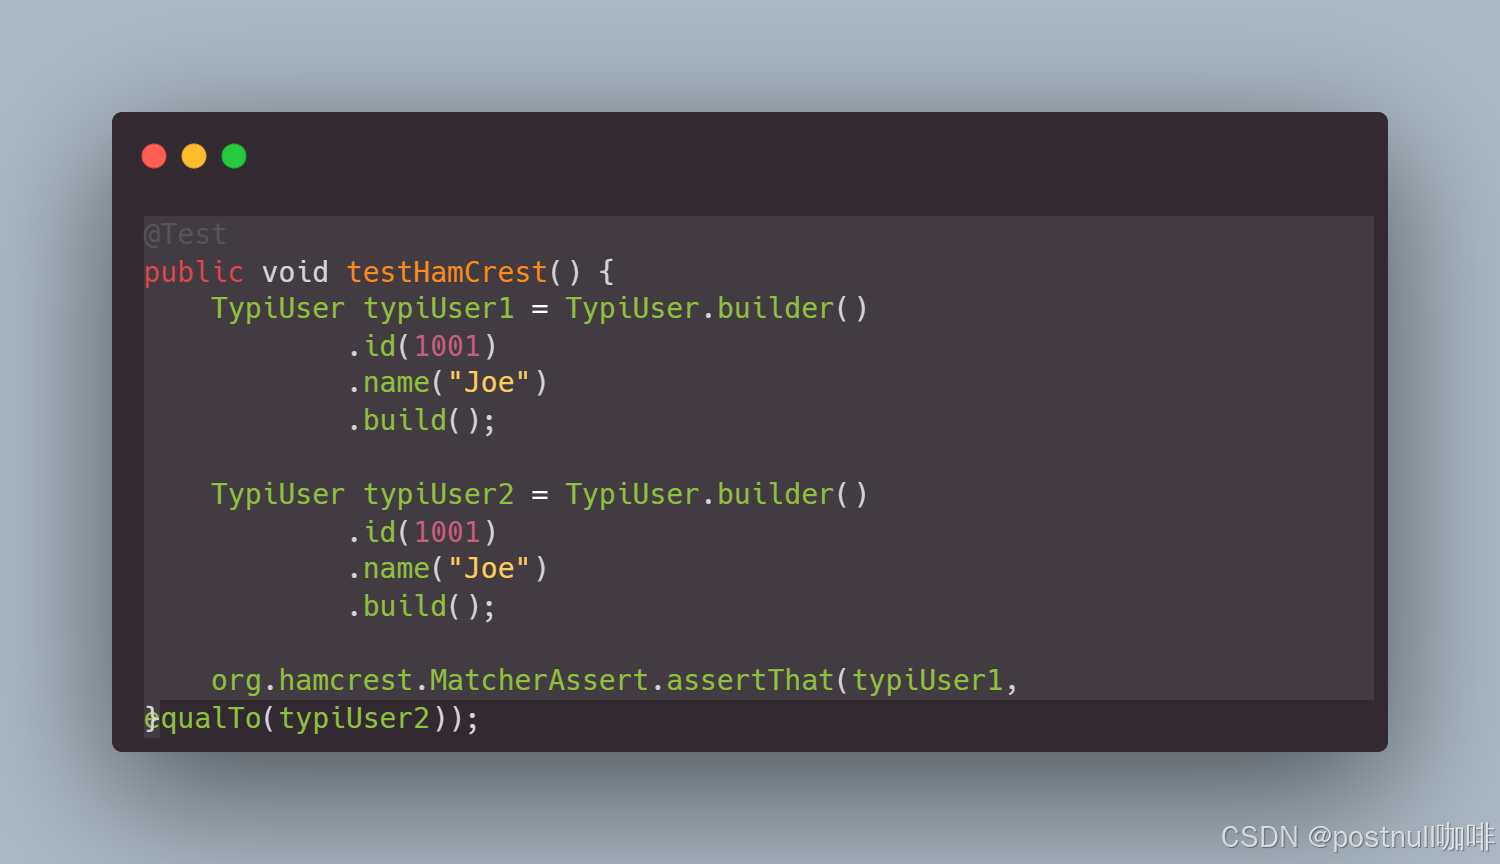
Hamcrest: 用来匹配对象
-
Mockito: Java Mock框架
-
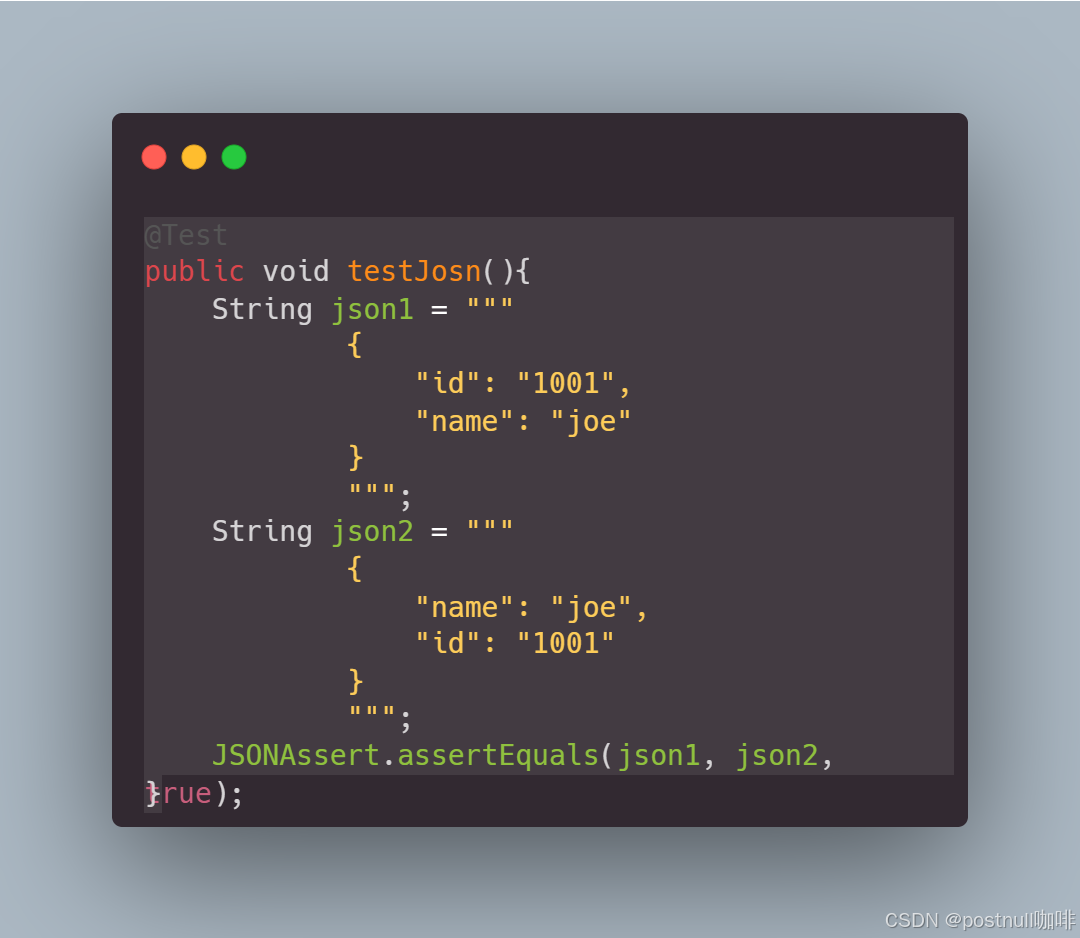
JSONassert: 可以比较json的内容,而不是字符串匹配
-
JsonPath: JSON内容检测
Spring Test的核心功能
Spring Test 提供了以下核心功能:
- @SpringBootTest:用于加载整个 Spring Boot 应用上下文
- @ContextConfiguration:用于加载特定的 Spring 配置。
- @MockBean 和 @SpyBean:用于模拟 Spring Bean。
- TestRestTemplate:用于测试 REST API。
- WebTestClient:用于测试 WebFlux 应用。
- @DataJpaTest:用来测试JAP 数据库持久层的代码
- @WebMvcTest:用来测试MVC层
Spring Test 会自动配置各种组件,类似Spring Boot的自动配置,自动配置模块是 spring-boot-test-autoconfigure。
每一种测试场景都是分别使用自己的注解,注解格式都是 @…Test,他们的自动配置类都是 @AutoConfigure… 格式
| 测试模块 | 注解 | 自动配置类 |
|---|---|---|
| 测试Controller层 | @WebMvcTest | MockMvcAutoConfiguration |
| 测试JPA | @DataJpaTest | AutoConfigureTestDatabase |
| 测试Spring容器 | @SpringBootTest | |
| 测试RestClient | @RestClientTest | MockRestServiceServerAutoConfiguration |
@SpringBootTest 加载Spring上下文
一个SpringBoot应用,就是一个Spring ApplicationContext(以前我们学习Spring容器时了解过的BeanFactory等各种层级的Spring容器)。
因为是Spring应用,所以我们需要加载完整的Spring Boot应用上下文,用来集成测试,包括我们的依赖正不正确,配置有没有问题。
当然你也可以直接启动 Spring Boot应用,但是那样太麻烦(因为可能你的微服务依赖了一大堆外部系统,比如数据库、ES等等)。
这时候我们只需要用注解@SpringBootTest 来加载Spring的上下文,快速验证。
比如,正常情况,我们的测试用例可以通过。
@SpringBootTest
public class JoeApplicationTest {@Autowiredprivate JoeLabApplication applicationContext;@Test@DisplayName("测试Spring应用是否能够启动成功")public void contextLoads() {assertNotNull(applicationContext);}
}
依赖注入有问题时
为了测试是不是真的这么强大,我们可以稍微改动一下代码。把我们的Service层的注解去掉
//@Service
public class TnUserService {public TypiUser getUserById(Integer id){return TypiUser.builder().id(id).name("Joe").username("joe").email("joe@gmail.com").build();}
}
这样Controller层自动注入会找不到我们的Service。
@RestController
@RequestMapping("/tn-users")
public class TnUserController {private TnUserService tnUserService;public TnUserController(TnUserService tnUserService) {this.tnUserService = tnUserService;}
以前,你需要把Spring应用启动才能发现这个问题,但是现在只需要执行测试用例。可以看到,测试用例失败了,因为依赖注入有问题。

Spring配置有问题时
我们再换一个case,我们在test/resources下加一个配置application.properties
我们先只配置端口
server.port=6666
运行测试用例,发现报错了。看错误日志。原来是因为我们的classpath下有数据库的依赖,但是我们的Spring配置文件中没有任何数据库的配置造成的。
- 引入了数据库JPA等依赖,就要在application.properties中配置数据库连接,否则Spring应用启动报错的。
test/resources下放置了application.properties,Spring Test就不会去加载src/resources下的application.properties了。

我们把数据库的配置加上
spring.datasource.url=jdbc:mysql://localhost:3306/test?useUnicode=true&characterEncoding=utf-8&useSSL=false&serverTimezone=Asia/Shanghai
spring.datasource.username=root
spring.datasource.password=abc123123
spring.datasource.driver-class-name=com.mysql.cj.jdbc.Driver
spring.jpa.database-platform=org.hibernate.dialect.MySQL8Dialect
spring.jpa.show-sql=true
这下,测试用例通过了。

我们再测试一下,配置有问题的情况. 我们把服务器端口改成abcde
spring.datasource.url=jdbc:mysql://localhost:3306/test?useUnicode=true&characterEncoding=utf-8&useSSL=false&serverTimezone=Asia/Shanghai
spring.datasource.username=root
spring.datasource.password=aaaaa
spring.datasource.driver-class-name=com.mysql.cj.jdbc.Driver
spring.jpa.database-platform=org.hibernate.dialect.MySQL8Dialect
spring.jpa.show-sql=trueserver.port=abcde
看日志可以看到,Spring Test去实例化Tomcat的bean时报错了,端口只能是数字

@WebMvcTest 测试Web层(Controller)
直接使用Junit + Mockito,我们是不好测试Controller的。所以Spring Test 为我们提供了一个注解 @WebMvcTest
@WebMvcTest(TnUserController.class)
public class TnUserControllerTest {
加了这个注解的case,会自动的配置Spring MVC,并扫描Web相关的配置。比如加了@Controller, @ControllerAdvice等注解的类
但是它不会扫描
@Component和@ConfigurationProperties的Bean。
要扫描配置类,需要加上@EnableConfigurationProperties注解
比@SpringBootTest更轻量级!只关注Web层的东西。
MockMvc
我们一般不会单独使用这个注解,而是结合@MockBean 和 MockMvc 来测试Controller。
MockMvc 这个类可以帮助我们在不需要启动完整的HTTP服务器的前提下,测试MVC的控制器。
所以,我们的controller的ut通常是这样的
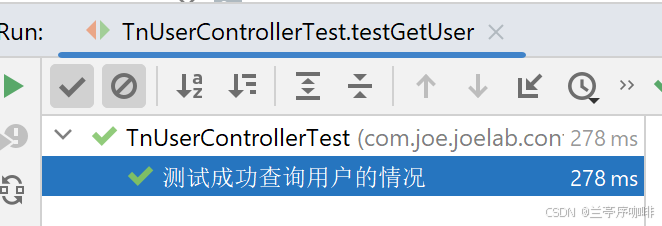
@WebMvcTest(TnUserController.class)
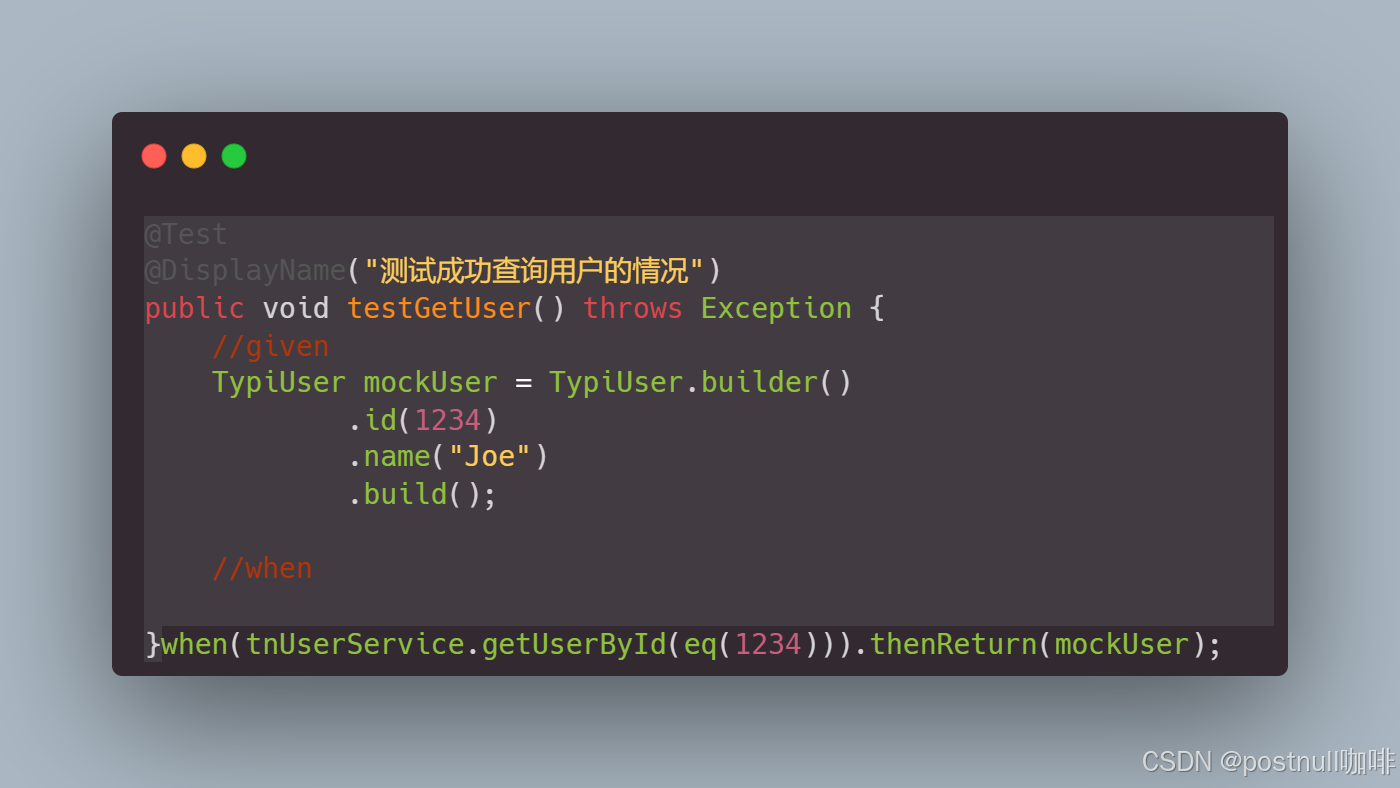
public class TnUserControllerTest {@Autowiredprivate MockMvc mockMvc;@MockitoBeanprivate TnUserService tnUserService;@Test@DisplayName("测试成功查询用户的情况")public void testGetUser() throws Exception {//givenTypiUser mockUser = TypiUser.builder().id(1234).name("Joe").build();//whenwhen(tnUserService.getUserById(eq(1234))).thenReturn(mockUser);//thenmockMvc.perform(get("/tn-users/{id}", 1234)).andExpect(status().isBadRequest()).andExpect(jsonPath("$.id").value(1234)).andExpect(jsonPath("$.name").value("Joe"));}
}
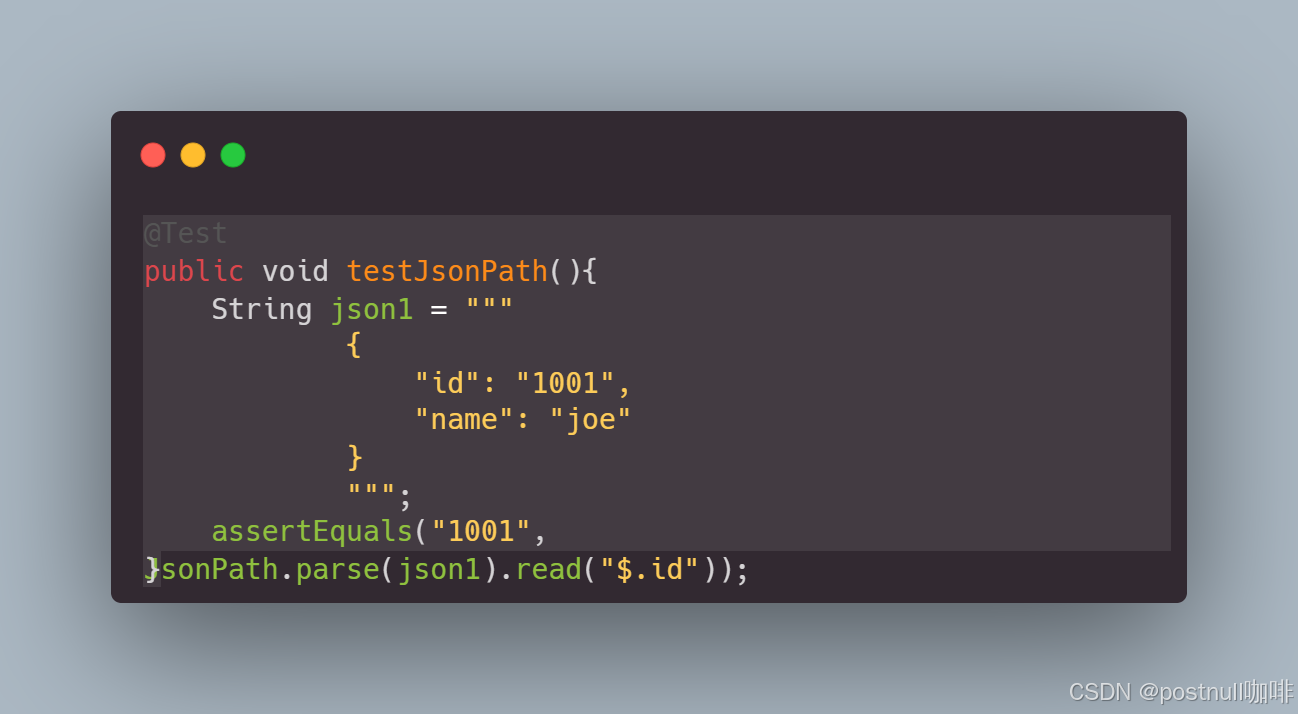
jsonPath 用来解析json响应
更多场景
- 发送Post请求
mockMvc.perform(post("/api/user").contentType(MediaType.APPLICATION_JSON).content("{\"name\": \"Alice\"}")).andExpect(status().isOk()).andExpect(jsonPath("$.message").value("User created"));
- 使用jsonPath解析json响应
mockMvc.perform(get("/api/user/1")).andExpect(status().isOk()).andExpect(jsonPath("$.id").value(1)).andExpect(jsonPath("$.name").value("Alice"));
- 请求待header和cookie
mockMvc.perform(get("/tn-users/{id}", 1234).header("Authorization", "Bearer token123").cookie(new Cookie("token", "token123"))).andExpect(status().isOk()).andExpect(jsonPath("$.id").value(1234)).andExpect(jsonPath("$.name").value("Joe"));
- 获取响应,进一步处理
MvcResult result = mockMvc.perform(get("/tn-users/{id}", 1234)).andExpect(status().isOk()).andExpect(jsonPath("$.id").value(1234)).andExpect(jsonPath("$.name").value("Joe")).andReturn();
String resp = result.getResponse().getContentAsString();
System.out.println(resp);

Mock 和 Spy
Mock 和 Spy都是用来模拟一个类的行为,他们有什么区别呢?
mock用来完全替换一个类
mock是完全模拟,这个类的方法全都会被模拟,如果是void方法,什么也不做。
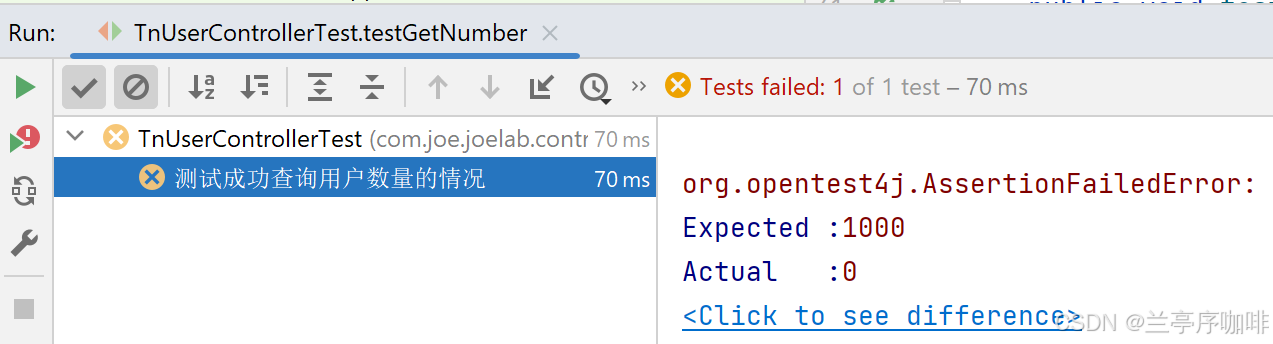
如果有返回值,这个方法就返回默认值,比如Integer就返回0
如果我们手动配置要返回的值,它就返回我们配置的值。
@Service
public class TnUserService {public Integer getNumber(){return 1000;}
}
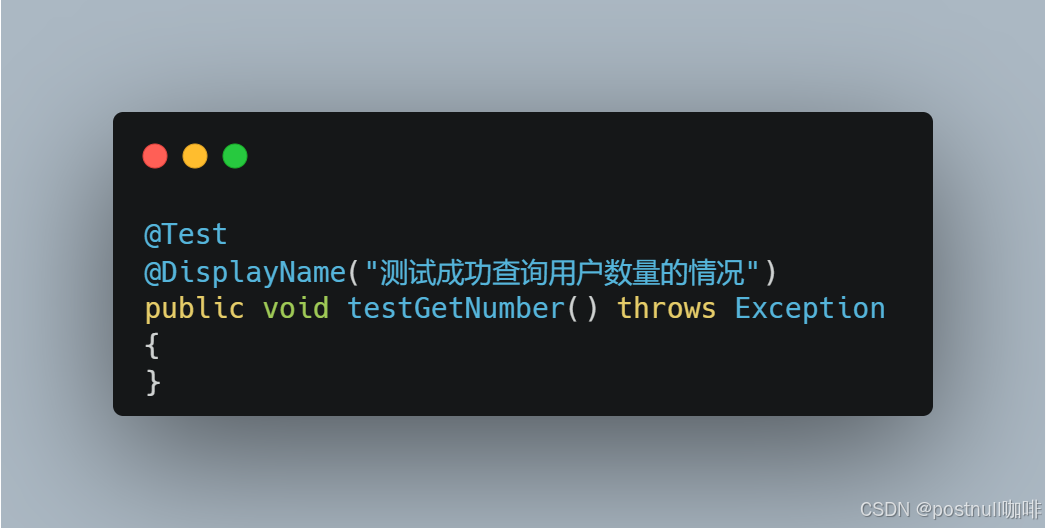
@MockBeanprivate TnUserService tnUserService;@Test@DisplayName("测试成功查询用户数量的情况")public void testGetNumber() throws Exception {Integer result = tnUserService.getNumber();assertEquals(result, 0);verify(tnUserService, times(1)).getNumber();}
其实还是调用了一次的!!!!
Spy则刚刚相反,如果我们不做任何配置,调用它的方法就直接执行原来的逻辑,除非我们明确要mock它的行为。
@SpyBeanprivate TnUserService tnUserService;@Test@DisplayName("测试成功查询用户数量的情况")public void testGetNumber() throws Exception {Integer result = tnUserService.getNumber();assertEquals(result, 0);}
稍微改一下,我们还可以验证方法的调用次数。
@Test@DisplayName("测试成功查询用户数量的情况")public void testGetNumber() throws Exception {Integer result = tnUserService.getNumber(1);assertEquals(result, 1000);verify(tnUserService, times(1)).getNumber(eq(1));}
注意@MockBean和@SpyBean都废弃了
@Deprecated(since = "3.4.0", forRemoval = true)
@Target({ ElementType.TYPE, ElementType.FIELD })
@Retention(RetentionPolicy.RUNTIME)
@Documented
@Repeatable(MockBeans.class)
public @interface MockBean {
官方推荐
Deprecated
since 3.4.0 for removal in 3.6.0 in favor of org.springframework.test.context.bean.override.mockito.MockitoBean
可以直接替换
@MockitoBeanprivate TnUserService tnUserService;@Test@DisplayName("测试成功查询用户数量的情况")public void testGetNumber() throws Exception {Integer result = tnUserService.getNumber(1);assertEquals(result, 0);}
@SpyBean也一样
Deprecated
since 3.4.0 for removal in 3.6.0 in favor of org.springframework.test.context.bean.override.mockito.MockitoSpyBean
换了后,不知道为什么报错。
Unable to select a bean to wrap: there are no beans of type com.joe.joelab.service.TnUserService (as required by field
解决:
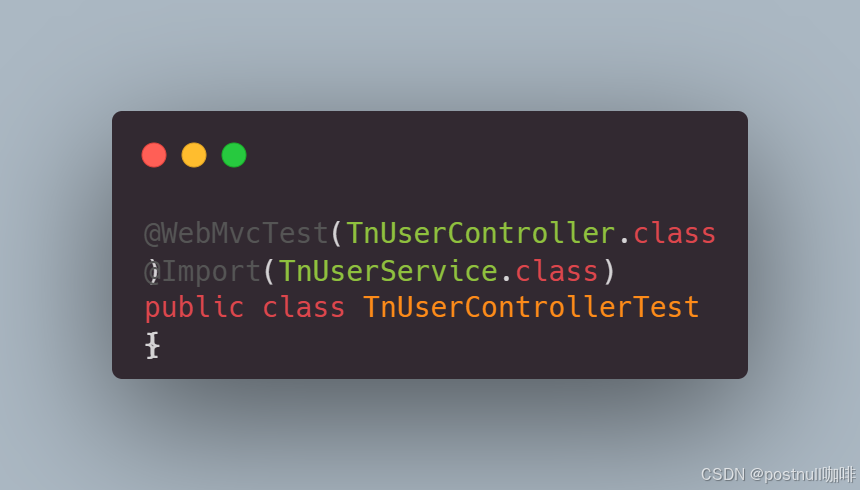
这是因为 @WebMvcTest 只会加载Controller 相关的 Bean,不会自动加载 @Service、@Repository 等其他组件。
显示的引入Service类
@WebMvcTest(TnUserController.class)
@Import(TnUserService.class)
public class TnUserControllerTest {@Autowiredprivate MockMvc mockMvc;@MockitoSpyBeanprivate TnUserService tnUserService;@Test@DisplayName("测试成功查询用户数量的情况")public void testGetNumber() throws Exception {Integer result = tnUserService.getNumber(1);assertEquals(result, 1000);}
为什么@SpyBean又能注入呢?
原理:使用@SpyBean 标注一个对象,其实Spring会代理这个对象。
@RestClientTest 测试 RestClient
RestClient是Spring6引入的轻量级同步HTTP客户端
前面章节已经介绍过如何使用了
@Service
public class TypiRestClientService {private final RestClient.Builder builder;private RestClient restClient;public TypiRestClientService(RestClient.Builder builder) {this.builder = builder;}// 使用 @PostConstruct 注解在 Spring 完成构造器注入后再进行初始化@PostConstructpublic void init() {// 使用 builder 创建 RestClient 实例,进行初始化this.restClient = this.builder.baseUrl("https://jsonplaceholder.typicode.com").build();}public TypiUser getUser(Integer id) {return restClient.get().uri("/users/" + id).retrieve().body(TypiUser.class);}
简单测试
这里我们来测试一下它
@RestClientTest
@Import(TypiRestClientService.class)
public class TypiRestClientServiceTest {@Autowiredprivate TypiRestClientService typiRestClientService;@Autowiredprivate MockRestServiceServer mockServer;@Testpublic void test(){this.mockServer.expect(requestTo("https://jsonplaceholder.typicode.com/users/1")).andRespond(withSuccess("{\"id\":1, \"name\":\"joe\"}", MediaType.APPLICATION_JSON));TypiUser user = this.typiRestClientService.getUser(1);assertEquals(1, user.getId());assertEquals("joe", user.getName());}}
- 测试 WebClient 调用外部 REST API 的逻辑,而不会真正发出 HTTP 请求,而是通过 MockRestServiceServer 模拟服务器响应。
- mockServer会拦截请求并返回响应
- @RestClientTest 不会加载Service类,所以要Import
MockRestServiceServer 的工作原理
- Spring Boot 在 @RestClientTest 里会自动配置 RestTemplate 或 RestClient:
- RestTemplate 需要一个 ClientHttpRequestFactory 作为底层的 HTTP 客户端。
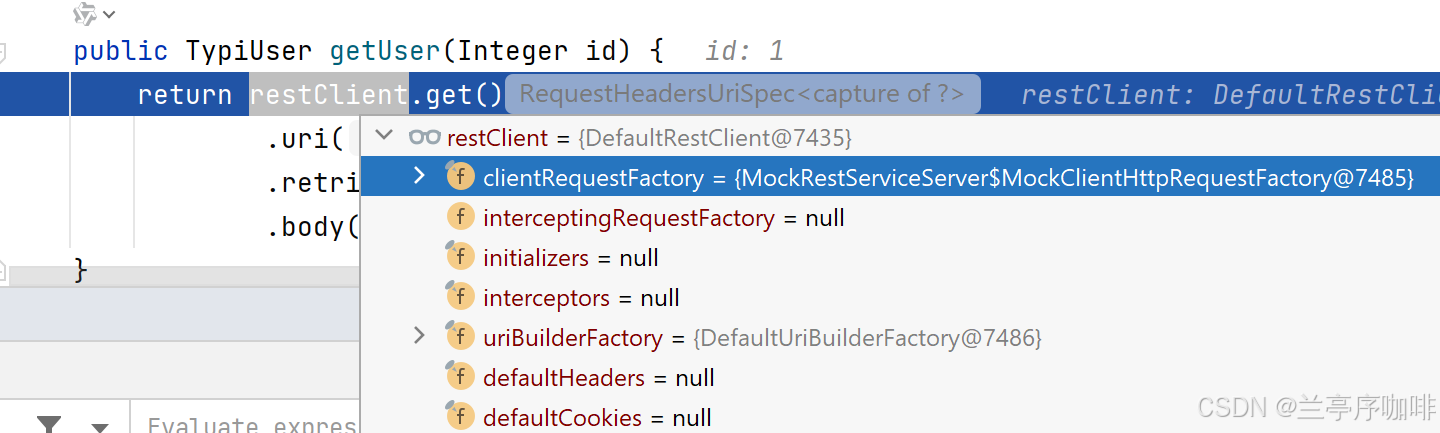
- MockRestServiceServer 创建了一个假的 ClientHttpRequestFactory,替换掉默认的 HTTP 处理逻辑。
- 当 RestTemplate 发出 HTTP 请求时:
- 由于 RestTemplate 依赖 ClientHttpRequestFactory,而这个工厂已经被 MockRestServiceServer 替换,所有的 HTTP 请求都不会真的出去,而是被拦截。
- MockRestServiceServer 会检查是否有匹配的 expect() 规则:
- 如果 expect(requestTo(…)) 里定义了匹配的 URL,它就会返回你预设的响应(如 withSuccess(…))。
- 如果没有匹配的规则,测试会报错,表示请求没有预期中的行为。
我们打个断点,可以看到RestClient的factory已经被替换成mockserver了
如果我们要看源码
可以看自动配置类
@AutoConfiguration
@ConditionalOnProperty(prefix = "spring.test.webclient.mockrestserviceserver",name = {"enabled"}
)
public class MockRestServiceServerAutoConfiguration {public MockRestServiceServerAutoConfiguration() {}@Beanpublic MockServerRestTemplateCustomizer mockServerRestTemplateCustomizer() {return new MockServerRestTemplateCustomizer();}@Beanpublic MockServerRestClientCustomizer mockServerRestClientCustomizer() {return new MockServerRestClientCustomizer();}@Beanpublic MockRestServiceServer mockRestServiceServer(MockServerRestTemplateCustomizer restTemplateCustomizer, MockServerRestClientCustomizer restClientCustomizer) {try {return this.createDeferredMockRestServiceServer(restTemplateCustomizer, restClientCustomizer);} catch (Exception var4) {throw new IllegalStateException(var4);}}
我们加了这个注解
@RestClientTest
@Import(TypiRestClientService.class)
public class TypiRestClientServiceTest {
其实它是一个符合注解
@TypeExcludeFilters({RestClientTypeExcludeFilter.class})
@AutoConfigureCache
@AutoConfigureWebClient
@AutoConfigureMockRestServiceServer
@ImportAutoConfiguration
public @interface RestClientTest {
它会自动打开自动配置的开关
@PropertyMapping("spring.test.webclient.mockrestserviceserver")
public @interface AutoConfigureMockRestServiceServer {boolean enabled() default true;
}
相当于配置了这个属性:
spring.test.webclient.mockrestserviceserver = true
自动配置类看到这个是true,就开始配置mockFactory了
@ConditionalOnProperty(prefix = "spring.test.webclient.mockrestserviceserver",name = {"enabled"}
)
public class MockRestServiceServerAutoConfiguration {
@DataJpaTest 测试JPA
我们可以通过加@RestClientTest注解来测试JPA应用。
默认的,它会扫描@Entity类,并配置JPA Repository.
其它@Component的不会被扫描到。
如果内置的数据库在classpath,比如h2,它也是会默认配置的。
Failed to replace DataSource with an embedded database for tests. If you want an embedded database please put a supported one on the classpath or tune the replace attribute of @AutoConfigureTestDatabase.
我们一般要用h2来测试数据库。
简单使用
引入依赖
<dependency><groupId>com.h2database</groupId><artifactId>h2</artifactId><version>2.1.210</version><scope>test</scope></dependency>
然后test/resources下配置application.properties 配置数据库
spring.datasource.url=jdbc:h2:mem:testdb
spring.datasource.driverClassName=org.h2.Driver
spring.datasource.username=sa
spring.datasource.password=
spring.jpa.database-platform=org.hibernate.dialect.H2Dialect
写测试类
@DataJpaTest
public class BookJpaRepositoryTest {@Autowiredprivate TestEntityManager entityManager;@Autowiredprivate BookJpaRepository bookJpaRepository;@Testpublic void test(){Book book = new Book();book.setName("Hello Java");entityManager.persist(book);Book res = bookJpaRepository.findById(1L).get();assertEquals("Hello Java", res.getName());}
}
Spring Data JPA 测试会自动注入一个TestEntityManager 的bean到测试上下文,我们可以直接注入使用,用来操作数据库,比如初始化一些测试数据。
原理
毫无疑问,还是自动配置做的好事。
起点还是测试类注解
@DataJpaTest
public class BookJpaRepositoryTest {
它是一个复合注解
@TypeExcludeFilters({DataJpaTypeExcludeFilter.class})
@Transactional
@AutoConfigureCache
@AutoConfigureDataJpa
@AutoConfigureTestDatabase
@AutoConfigureTestEntityManager
@ImportAutoConfiguration
public @interface DataJpaTest {String[] properties() default {};
配置默认内置的数据库
